1. Redis란?
- Redis의 가장 큰 특징은 메모리에 데이터가 저장된다는 점입니다.
- 때문에, 디스크에 저장되는 다른 Database들에 비해서 처리속도가 빠르다는 장점이 있습니다.
- 하지만, 메모리에 저장되는 데이터이기 때문에 휘발성이고, 영구적 저장을 위해서는 스냅샷 (RDB)과 로그 파일 (AOF) 방식을 사용해야만 합니다.
- 이러한 이유로 일반적으로는 다른 DB에서 조회로 인한 부하 문제를 보완하기 위해 사용되는 경우가 많습니다.
- 또한, Redis는 다양한 데이터 형태를 지원합니다. 다음은 데이터 형태와 추가, 조회, 삭제 방법입니다.
| 문자열(Strings) | 해시(Hashes) | 리스트(Lists) | 집합(Sets) | 정렬 집합(Sorted Sets) | |
| 추가 | SET key value | HSET key field value | LPUSH key value RPUSH key value |
SADD key member | ZADD key score member |
| 조회 | GET key | HGET key field | LRANGE key start stop | SMEMBERS key | ZRANGE key start stop WITHSCORES |
| 삭제 | DEL key | HDEL key field | LPOP key RPOP key |
SREM key member | ZREM key member |
2. Redis 세팅
- 이전글에서 다루었던 MySQL과 동일한 방식으로 Docker를 이용하여 Redis를 띄워보았습니다 (참조링크)
3. Redis 모듈화
- 우선 npm을 이용해 필요한 모듈을 설치해줍니다.
npm install redis
- 그리고 lib/redis.js를 아래와 같이 작성하였습니다.
const { createClient } = require('redis');

const host = process.env.REDIS_HOST || "localhost";
const port = 6379

async function createRedisClient() {
  const client = await createClient({ url: `redis://${host}:${port}` })
    .on('error', err => console.log('Redis Client Error', err));
  await client.connect();
  return client;
}

async function setValue(client, key, value, ttl) {
  const jsonValue = JSON.stringify(value);
  await client.set(key, jsonValue, 'EX', ttl);
}

async function getValue(client, key) {
  const value = await client.get(key);
  return value ? JSON.parse(value) : null;
}

module.exports = {
  createRedisClient,
  setValue,
  getValue,
};
4. Redis 연결
- service layer로 이동하여 getCustomerById(customer-api/v1/customer/:customerId)를 다음과 같이 수정하였습니다.
- Redis에 데이터를 조회하고, 결과 값이 있으면 그대로 반환, 없다면 DB에서 조회하고 데이터를 저장하는 형태입니다.
const getCustomerById = async (customerId) => {
  try {
    const redisClient = await redis.createRedisClient();

    const cachedData = await redis.getValue(redisClient, `CUSTOMER:${customerId}`);
    if (cachedData) return cachedData;

    const customer = await Customer.findByPk(customerId);
    await redis.setValue(redisClient, `CUSTOMER:${customerId}`, customer, 3600 * 24 * 7);

    return customer;
  } catch (error) {
    throw new Error("Error getting customer by customerId:", error);
  }
};
- 수정 후 "customer-api/v1/customer/1"으로 GET 통신을 시도합니다. 이때는 DB에서 데이터를 가져오고 Redis에 데이터를 저장합니다.
- 아래와 같은 명령어를 사용하여, Redis에 정상적으로 데이터가 추가되었는지 확인 할 수 있습니다.
redis-cli get CUSTOMER:1
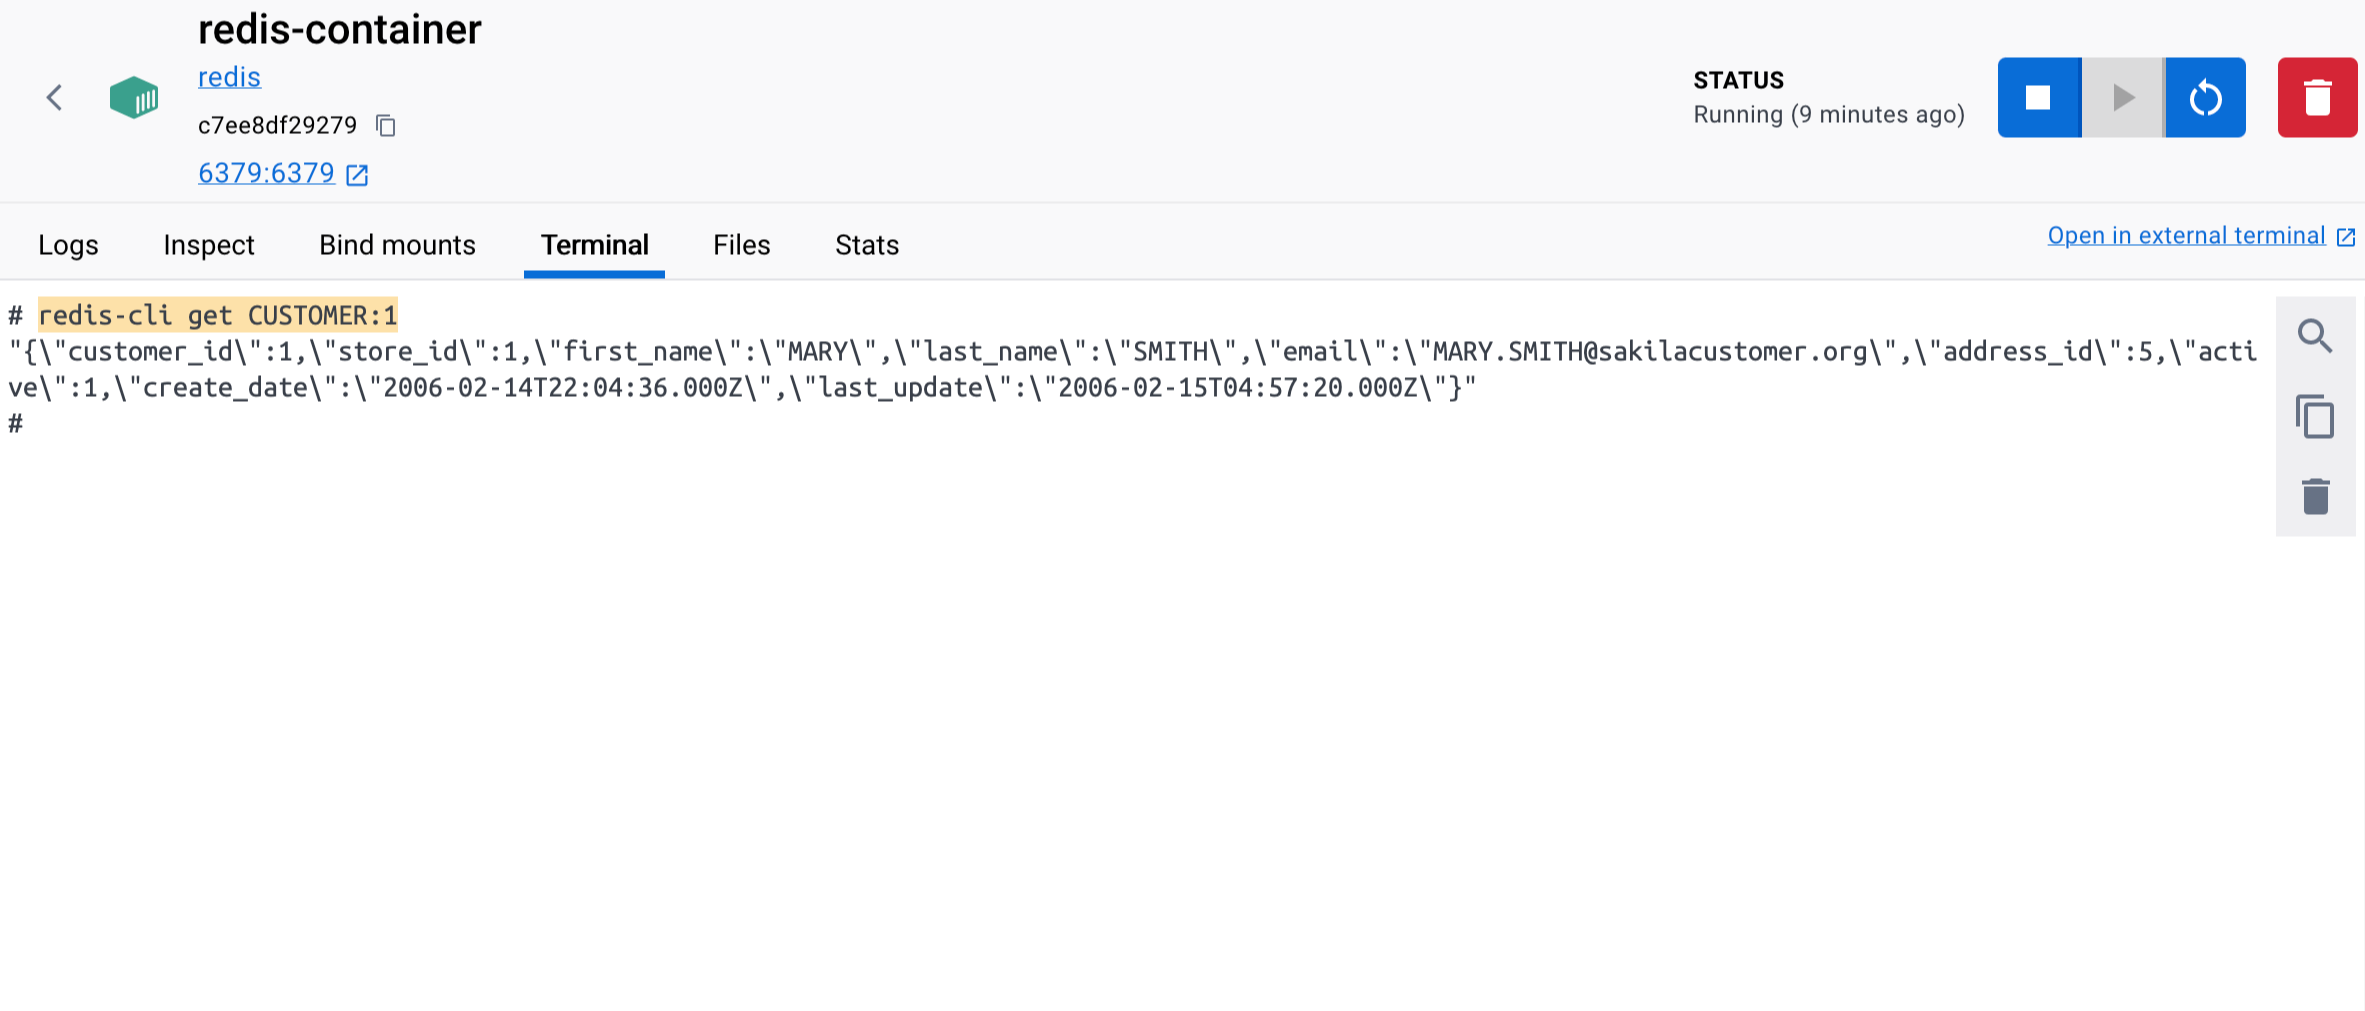
- "customer-api/v1/customer/1"으로 다시 한 번 GET 통신을 해도 동일한 데이터를 가져옵니다.
- 속도측정으로 비교해보았을때, 확실히 더 개선(53ms -> 20ms)된 것을 확인 할 수 있습니다.


'ExpressJS' 카테고리의 다른 글
| Chapter5 - Session & JWT (0) | 2024.01.28 |
|---|---|
| Chapter3 - DB연결 (0) | 2023.09.19 |
| Chapter2 - 프로젝트 구조 (0) | 2023.09.17 |
| Chapter1. 프로젝트 생성 (0) | 2023.09.01 |